
The tea party: restored in Photoshop
This page contains several before/after comparisons. Drag the arrows horizontally in either direction to view the changes between the two images. The original photo sits underneath the repaired version.
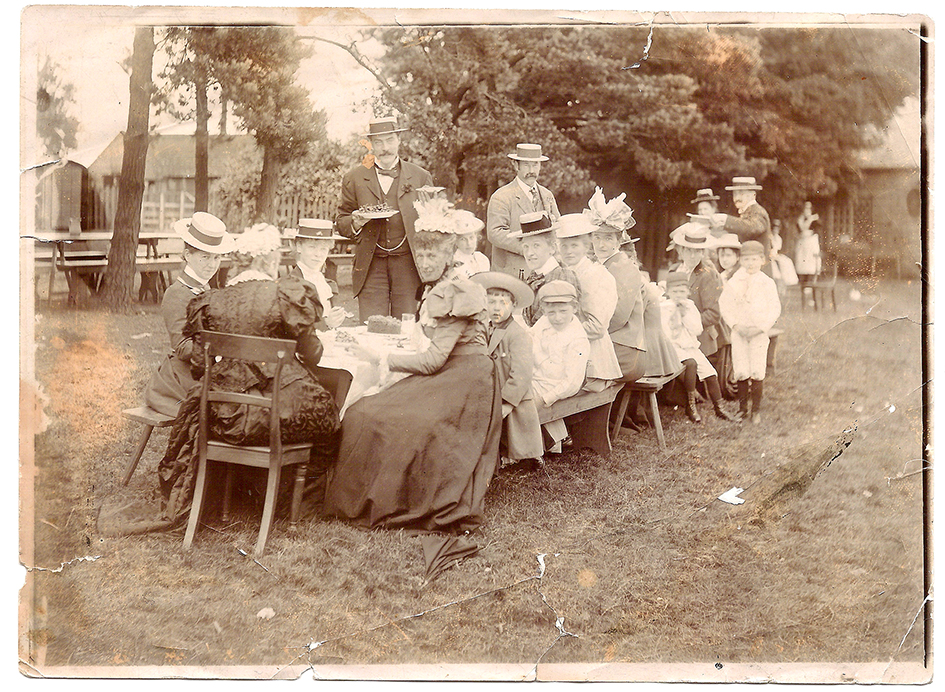
In December 2018 I bought a job lot of vintage photographs on eBay, with the intention of restoring some of the most badly damaged images. This photo is one of the most damaged in the pile, and a prime candidate to show off what I can do. The scene it depicts, a tea party where the men wait on the women and children, is likely Victorian or Edwardian. Interestingly it doesn’t appear to be an original print, but a print of a print, most likely one of many copies for distribution or as a preservation print.
There were many problems to fix: tears, creases, holes, aged-related foxing and corrosion, severe emulsion damage, discolouration, chemical streaks and spillages, dirt, scratches, dust and loss of major details.
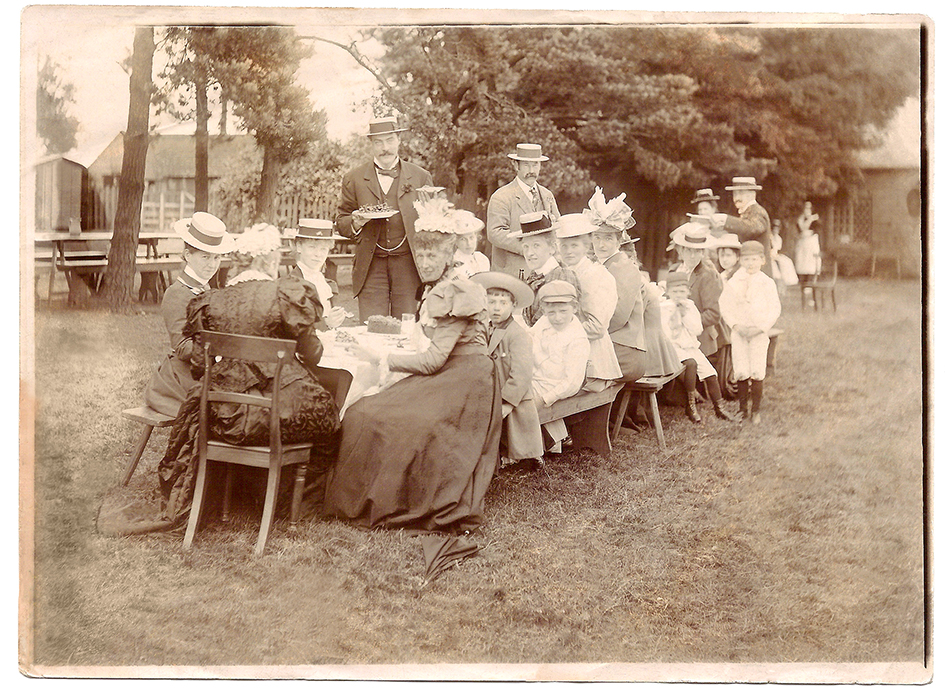
A successful repair relies on many factors: available time and budget, very high resolution of the original scan (1200dpi is my preferred minimum), usable detail elsewhere in the image, copies of other images of the subject taken at the same time (these can sometimes yield useful picture information), the integrity of the original image and the optical perception of the viewer.
You’ll notice in the above comparison that one or two areas have lost original details in favour of more generic coverage. For example, the area of grass near the bottom of the lower left quarter was so damaged it was simpler to clone another area of the grass entirely and use it to cover the corrupted detail. It’s a more obvious-looking repair compared to others, and with more time a better result could be achieved by working in extreme close-up, but repairs of this type are dependent on the relevance of the detail. A face would benefit more than a random patch of grass, and of course the relative importance of the image also plays a part in deciding which details would benefit most from the investment.
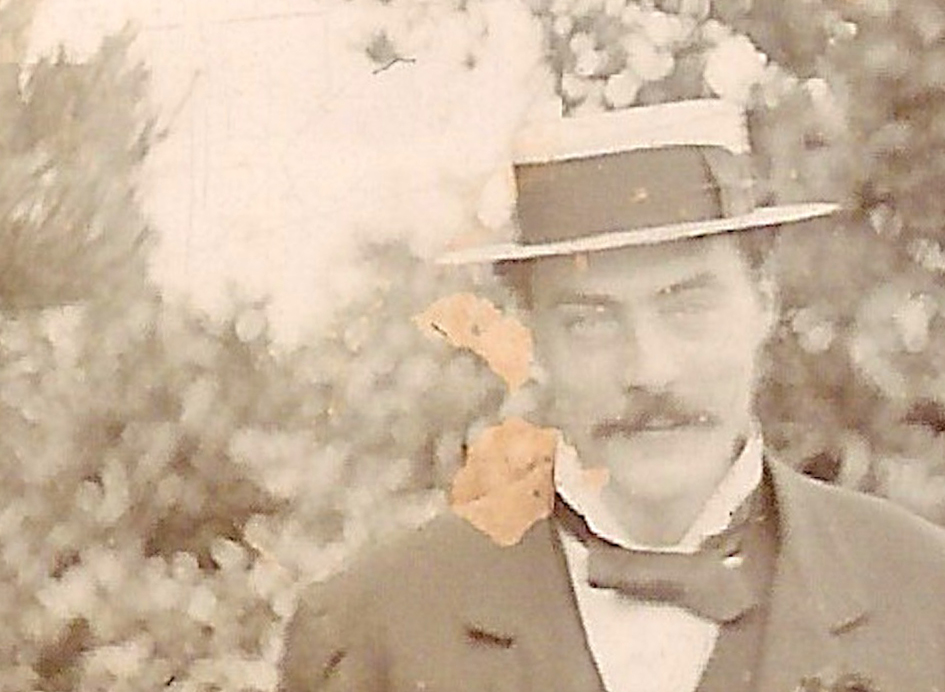
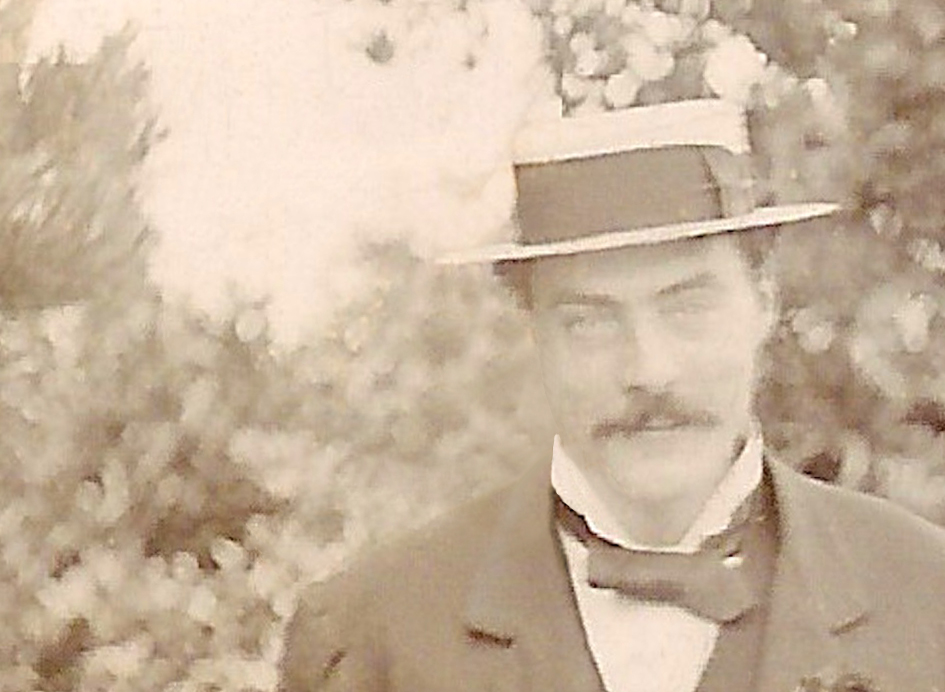
The repairs in detail
The following close-ups demonstrate some of the more extreme challenges. It would be very easy to get lost in the kind of detail shown here – in practice the best approach is to fix the most obvious issues, then move onto the smaller details if they’d be visible at the resolution or print size needed. The tiniest details can either be touched up if they’re obvious at a distance, or left alone.
1. Missing detail
This area exhibits severe damage to the surface of the print, likely a chemical spillage or contact damage from another object at the time of production, resulting in discolouration and the loss of critical detail around the shoulder and face. This kind of damage can’t easily be fixed using the standard automated tools so most of it had to be fixed by hand, using cloning and blending to cover the worst of it.
2. Partially obscured detail

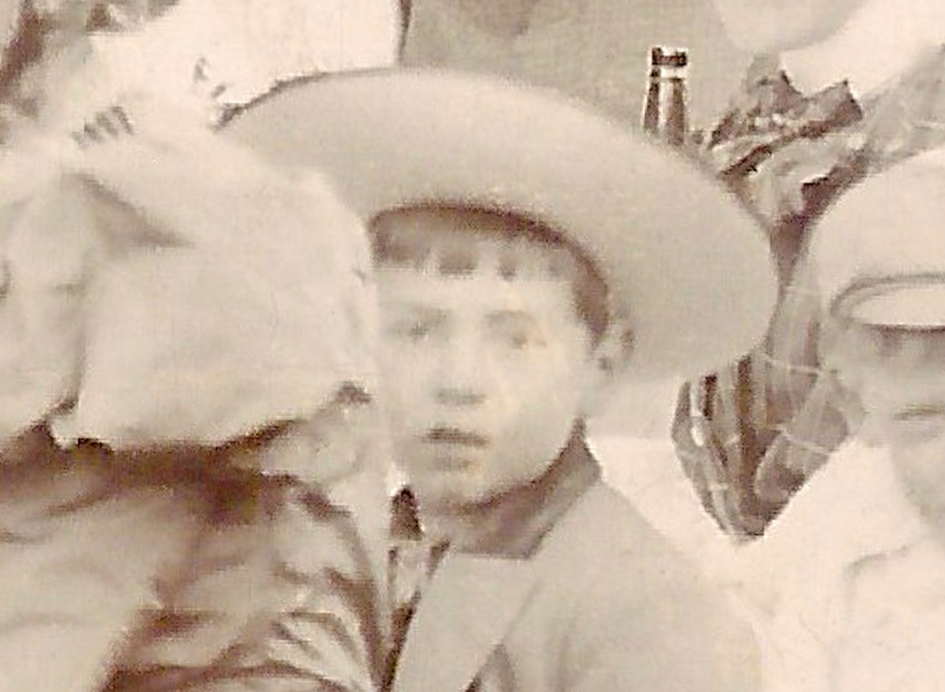
Again, this close up reveals damage caused by the processing chemicals, this time affecting the boy’s face. Hand-drawn repairs restore most of the missing detail, but as there is no other reference imagery available it can only be an approximation. Close up, there still appears to be some variation in colour, but when zoomed out to reveal the full image most of the optical effect of the colour variation simply disappears.
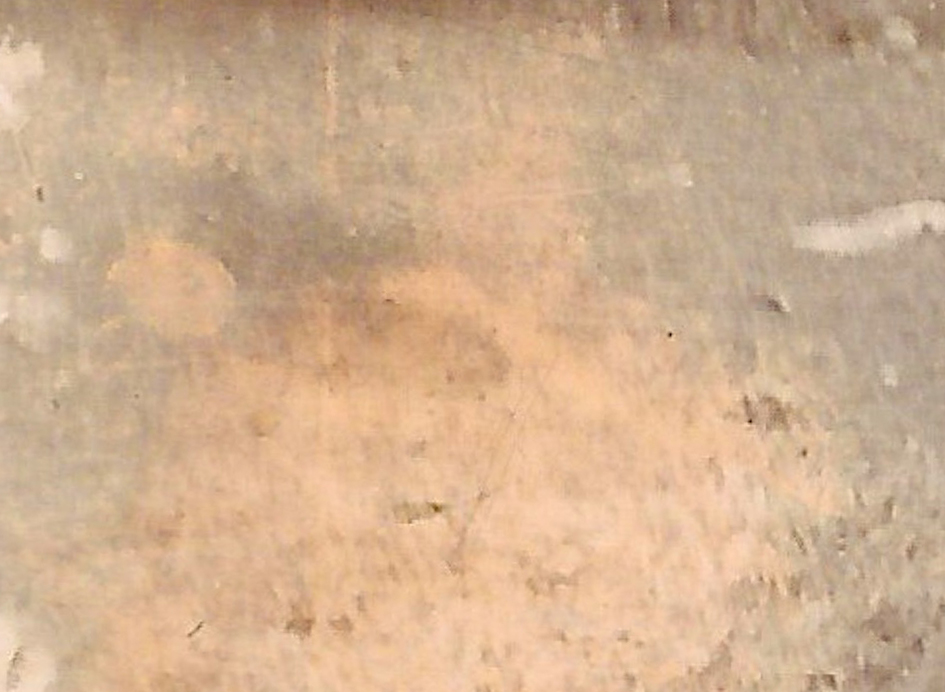
3. Yet more chemical damage
This is easier to repair as it mostly covers non-essential picture information, and cloned areas can be used to cover the problem. In practice it’s unlikely that a repair of this nature would be viewed in close-up, and when viewed from a distance the repair is virtually seamless.
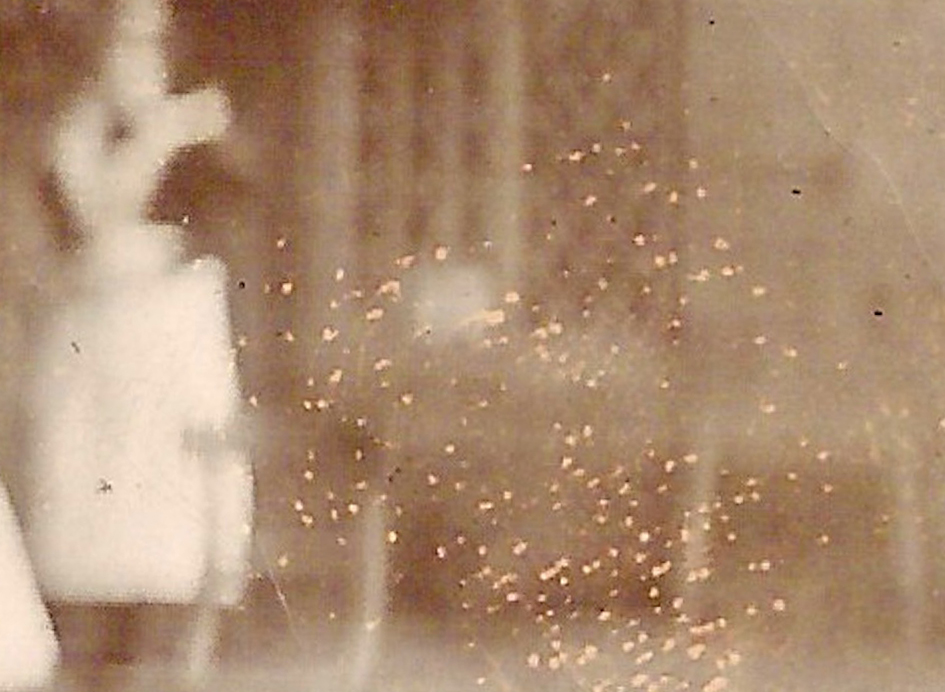
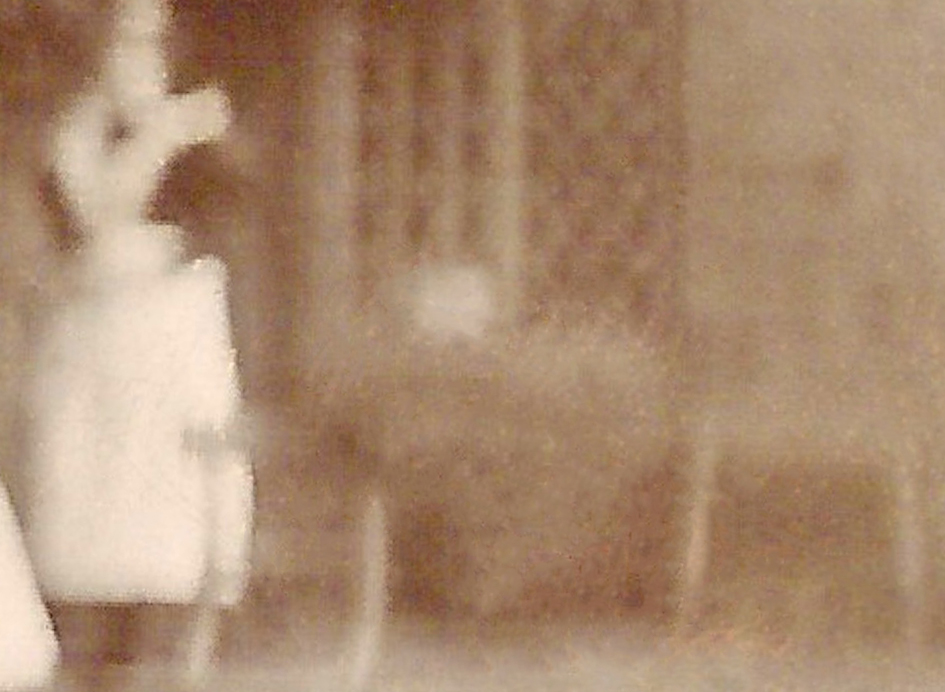
4. Random discolouration
This section showed a lot of damage covering a relatively unimportant area of the image, again probably due to a spillage of chemicals during processing. Due to the lack of usable surrounding picture detail the repair was done by creating a soft-edged mask, and a colour wash sampled from the main image was overlaid onto the damage, using an overlay filter so only the lighter mid-tone was corrected. It can never be a seamless repair, but it does help to minimise the damage, and allow the viewer to focus on the main scene.
5. Creases, tears and holes
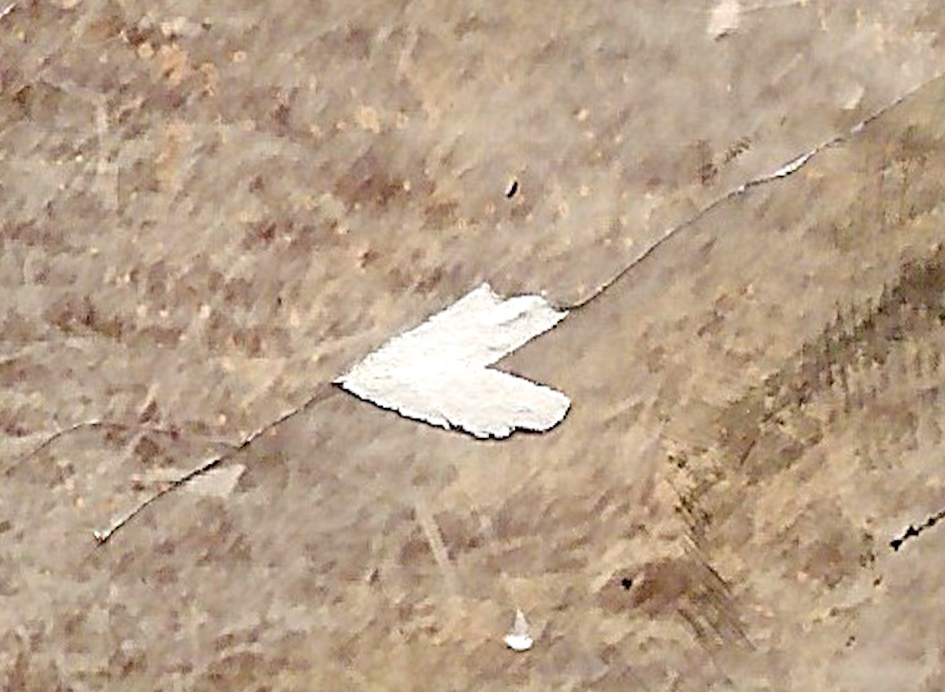

The print wasn’t looked after particularly well over the years, and there are many creases and tears, thankfully mainly confined to non-essential areas of the image. There are several areas where the top layer of the print has been stripped away from the substrate, leaving white holes and sharp creases. As these areas are mainly grass it was a simple job to repair them using soft-edged sections from other parts of the image.
Restoring the past
If you have old photos stored in your loft or an old album, and would like them repaired and cleaned up, then please get in touch. I have over twenty-five years experience using Adobe Photoshop to scan and restore images to professional-level quality. Much of my previous work entailed remastering photography for magazines, campaigns and online advertising, and I’ve picked up a lot of tricks along the way.
As I have a full time job I do this kind of work in my spare time. Prices start at £10 per image, and I offer 10% off ten or more images. All prices include the cost of a DVD-R master and one safety copy, and all images are safely archived on my system. If you want the restored images uploaded to Dropbox or delivered to you via cloud-based sharing services I can do that too.
I look forward to hearing from you.